*Disclosure: This post may contain affiliate links, which means I may receive a commission if you click a link and purchase something. Please check out our disclosure policy for more details.
Well, I did it!
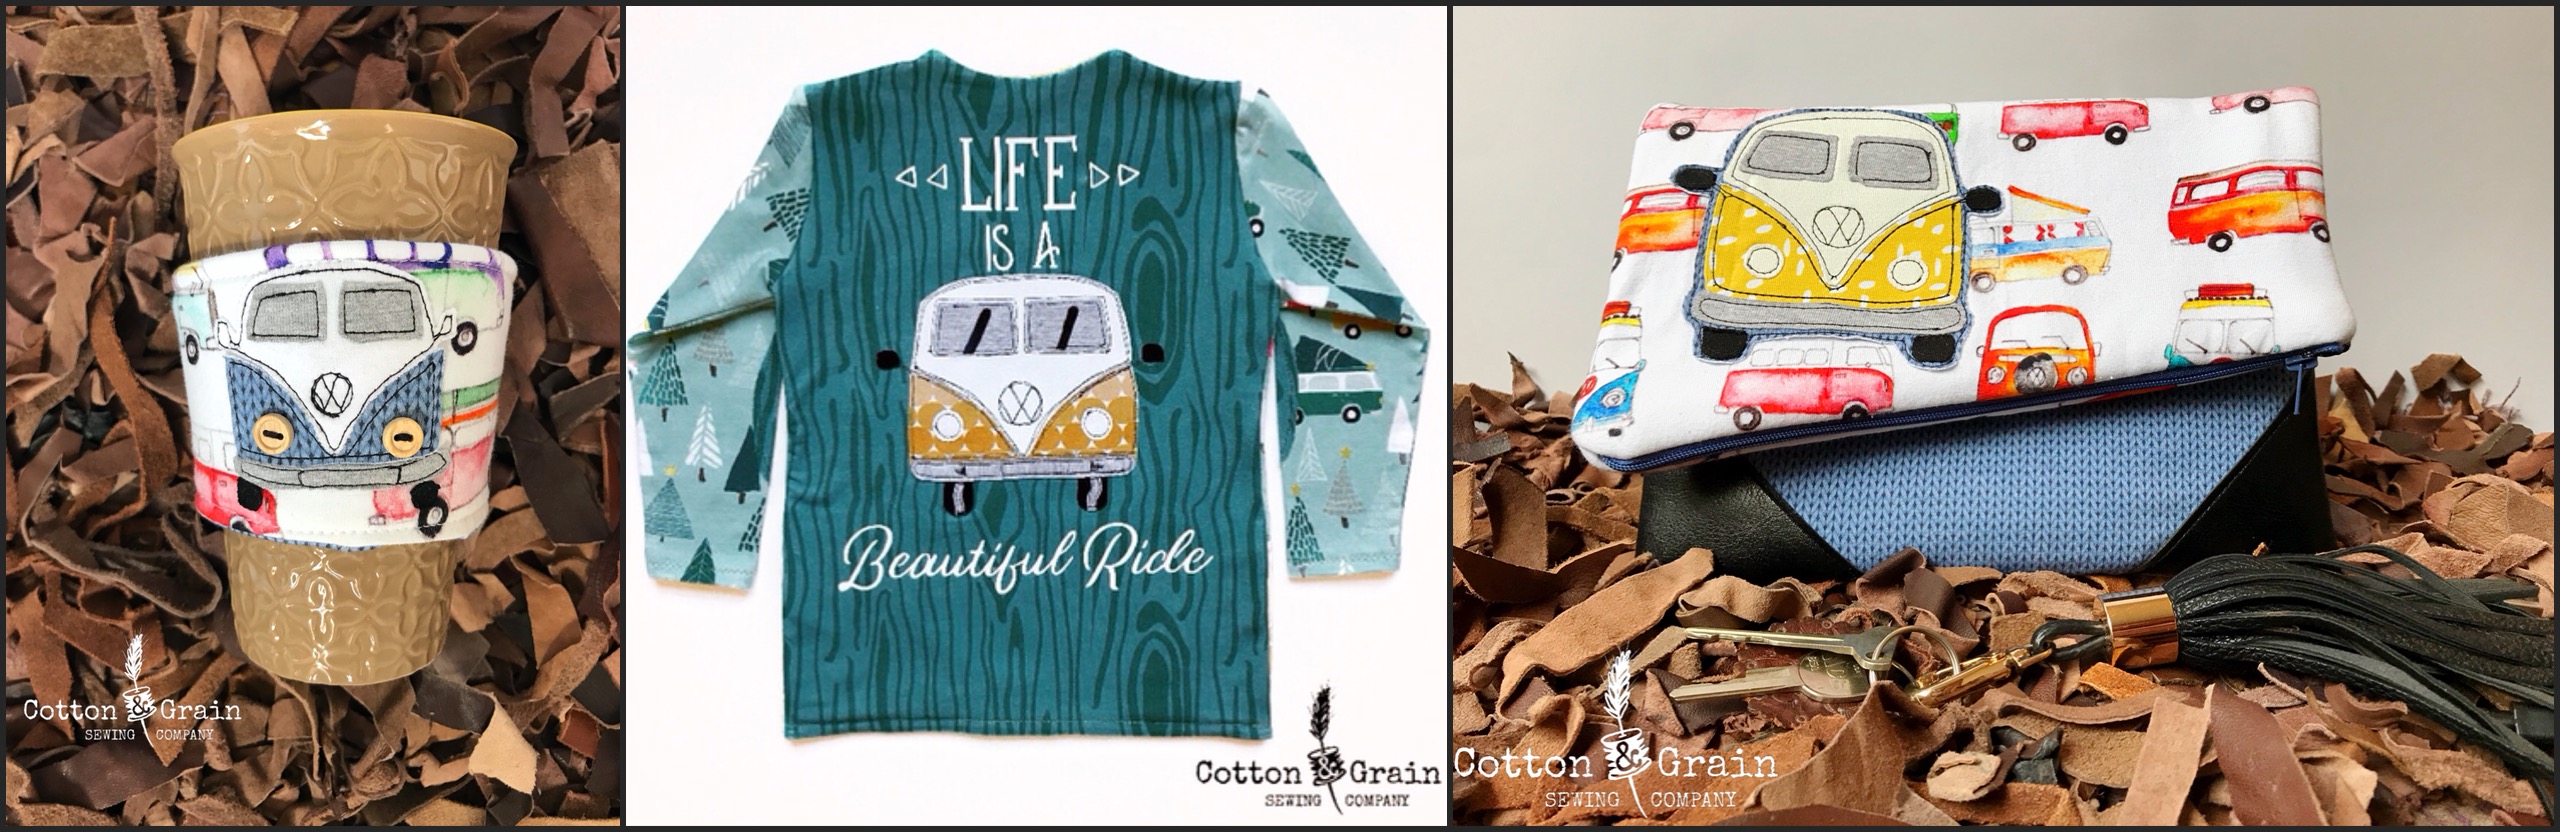
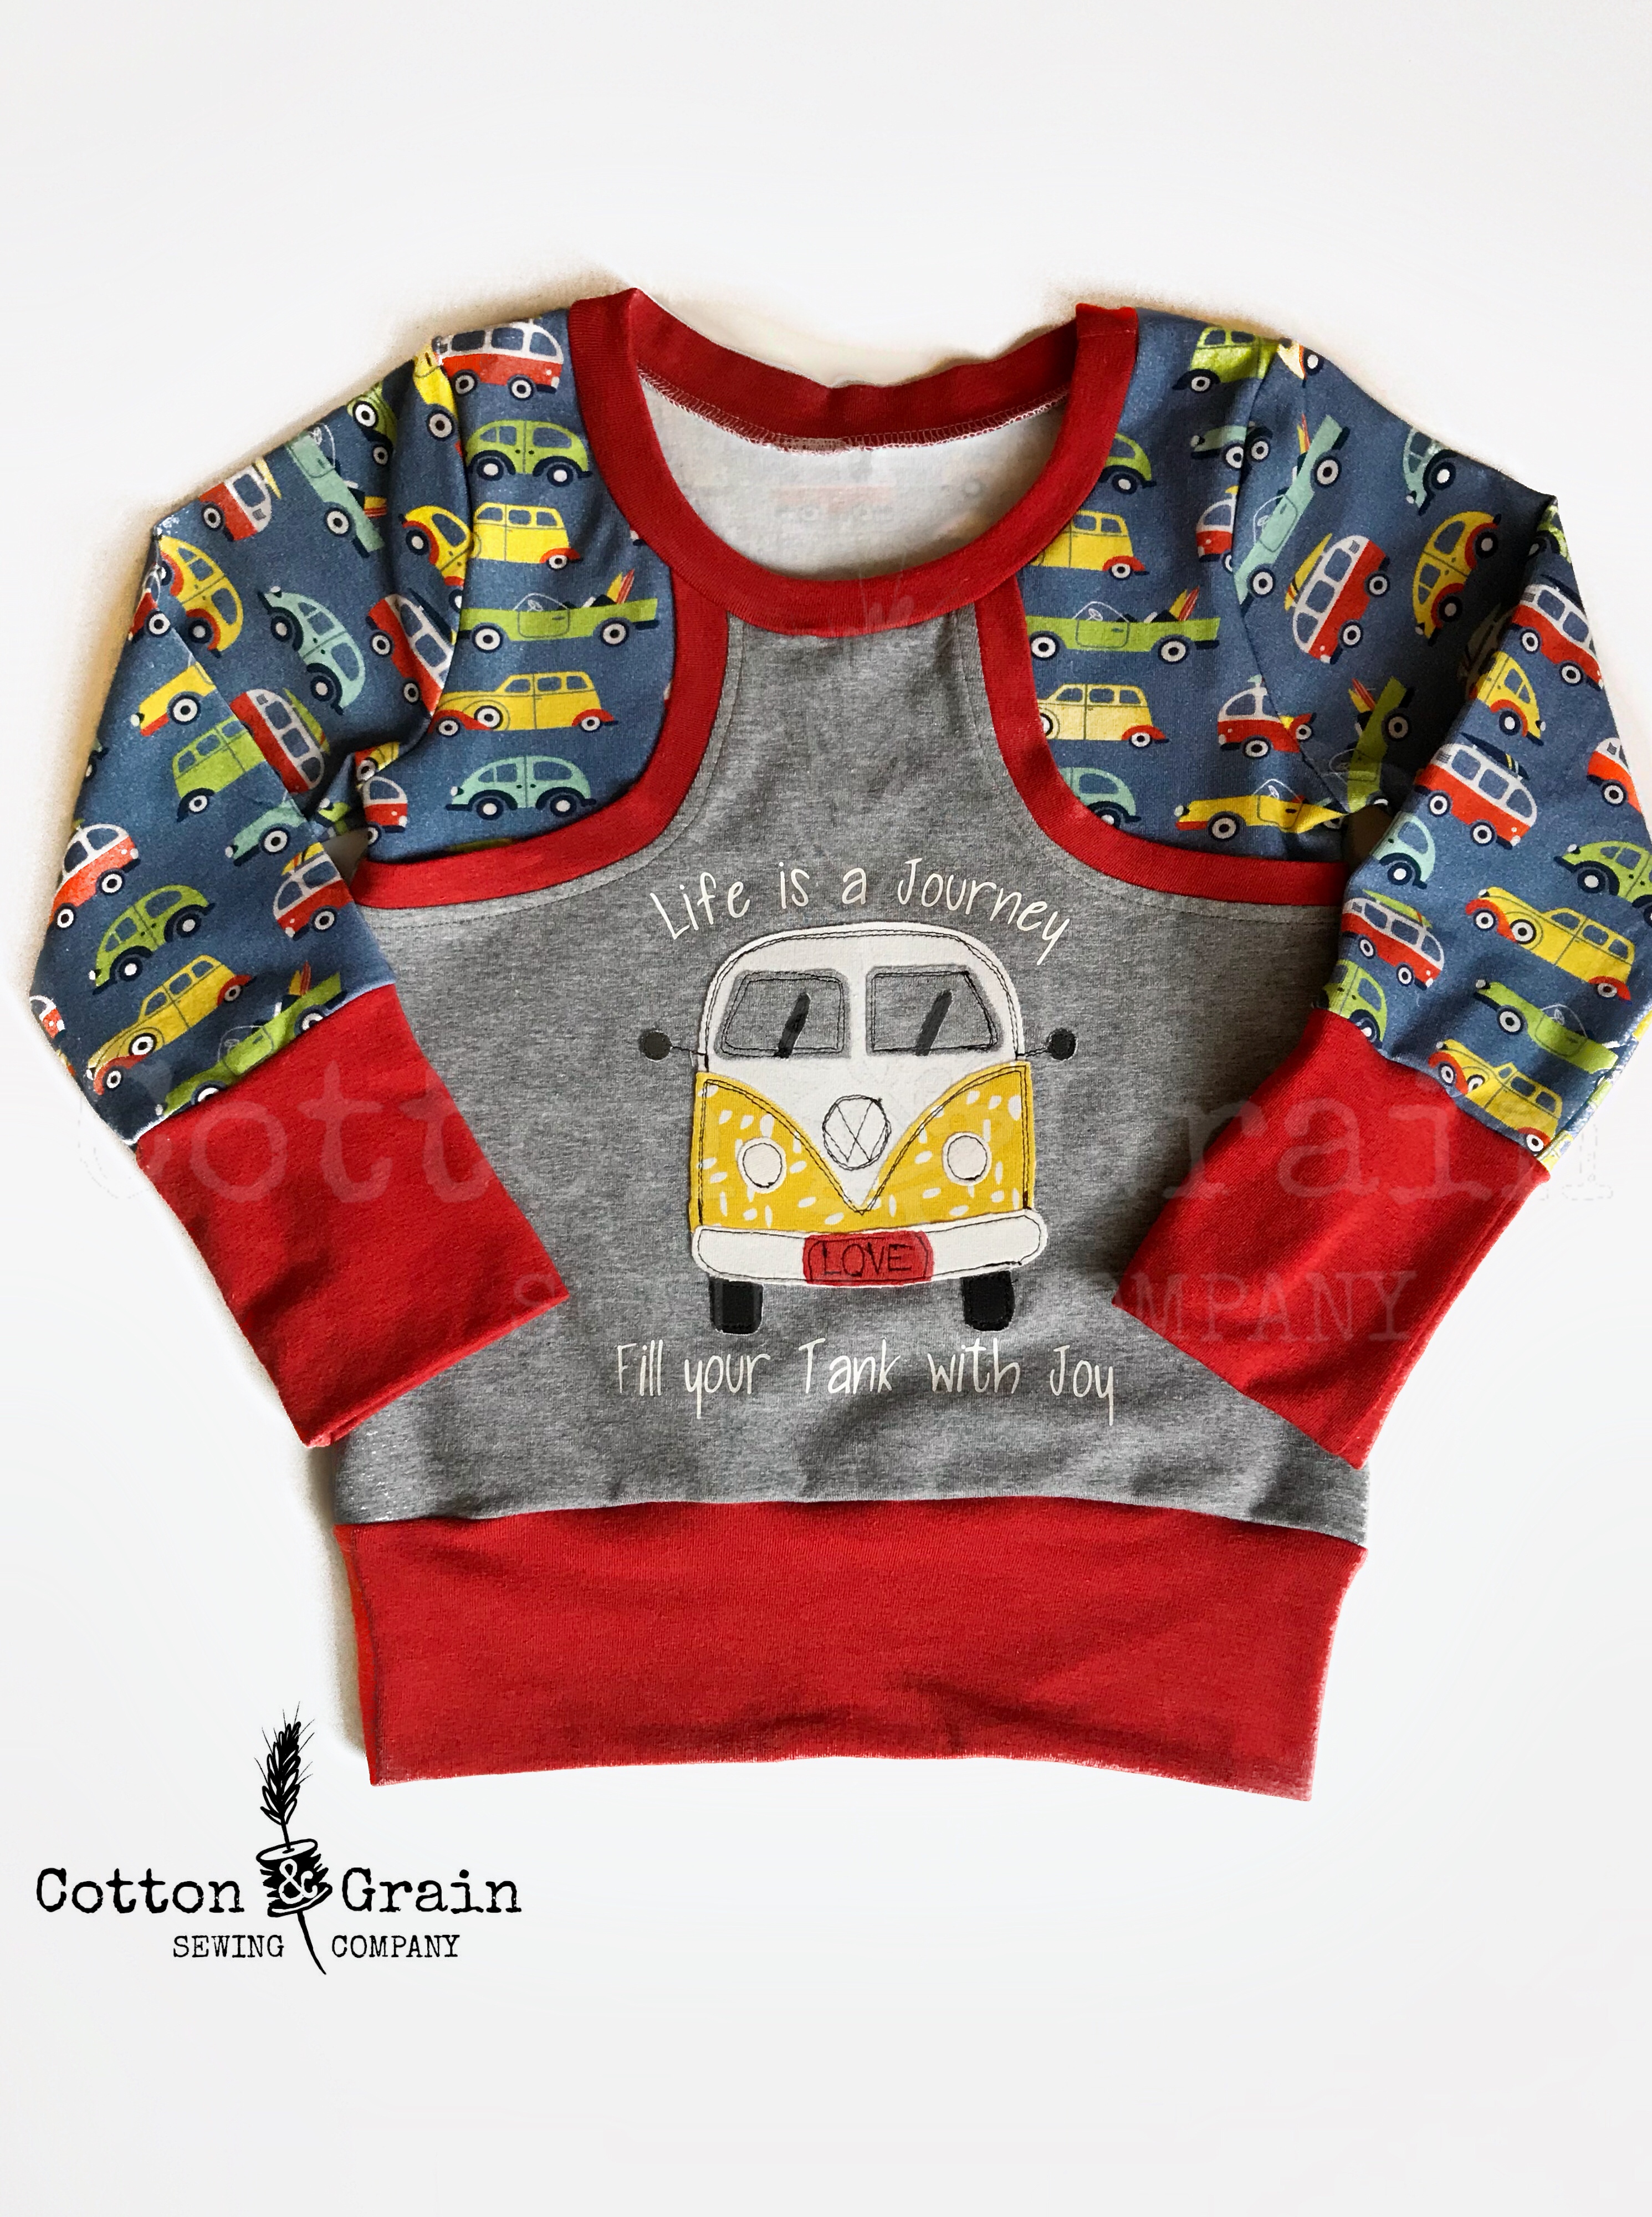
I’ve been wanting to start a blog for a while now to share all of my favorite appliques, projects, crazy ideas, and the experience I’ve gained through making masterpieces out of messes! I actually had it on my list of goals last year and as the year progressed it just got pushed further and further to the back of the list. When January came around again, I decided to just go for it! So as a little thank you for coming along for the ride, I’d like to share one of my favorite applique patterns with you all…The Love Bus! This is by far one of my favorite, most versatile, and well-loved patterns I use in my shop Cotton & Grain Sewing Co.
Link to download the free Love Bus applique pattern is located at the end of this post.
Applique is a great way to use up all of those fabric scraps that are overtaking your sewing area. Don’t deny it…we all have one of those overflowing scrap bins sitting in the corner! It’s also a great way to express your creative self through the use of wearable art. If you’ve never done applique before, don’t fret. This is the tutorial for you!

There are a few things you’ll need before we get started…
- Love Bus Applique Pattern and Tutorial
- Heat n Bond Lite or Another Iron-On Adhesive
- Fabric Scraps
- Knit fabrics work great for appliques since they don’t fray.
- You can also use woven fabrics such as quilting cotton but the edges will begin to fray through regular use and washing.
- Cut Away Stabilizer
- Scissors
- Pencil, Washable Fabric Marker
- All-Purpose Polyester Thread
- Iron
- Sewing Machine with a Walking Foot, Applique Foot, or a Zipper Foot
- Optional Items
- Cutting Machine (i.e. Cameo or Cricut)
- Buttons to use in place of headlight pieces
- Seam Ripper or another pointy tool for pulling threads to the back
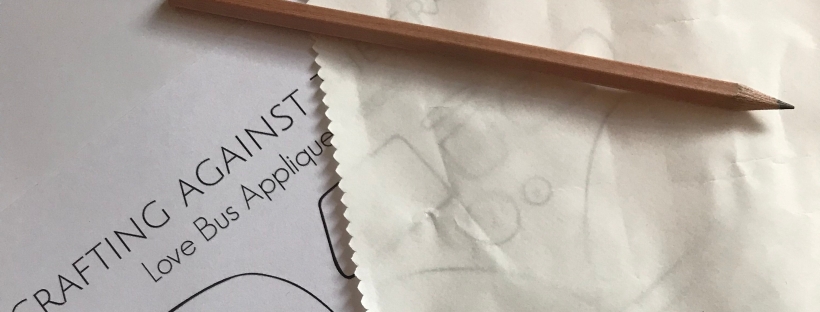
Step One
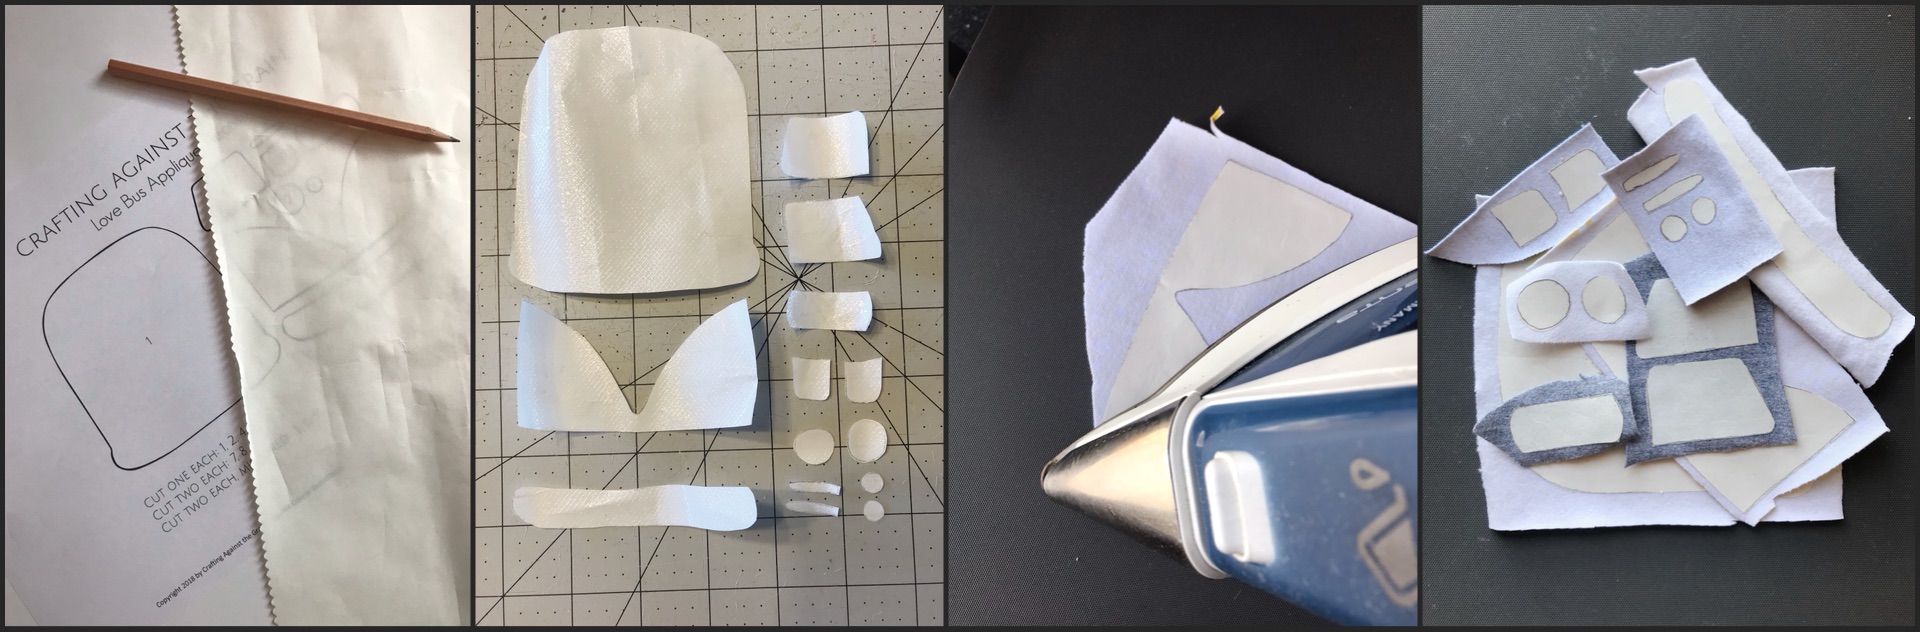
Print out your applique pattern and lay it under your heat n bond lite, with the paper side facing up. Next, use a pencil to trace the pattern pieces onto the heat n bond, making sure to add any labels and/or numbers to your pieces. Once you have all of your pieces traced, cut them out and sort them according to the colors they will be.
Optional: Download the pattern pieces into your Silhouette Cameo or Cricut design software and cut the heat n bond using your machine. I usually cut mine on a blade depth of 2, speed 8, and thickness 4 with the paper side down.
Step Two
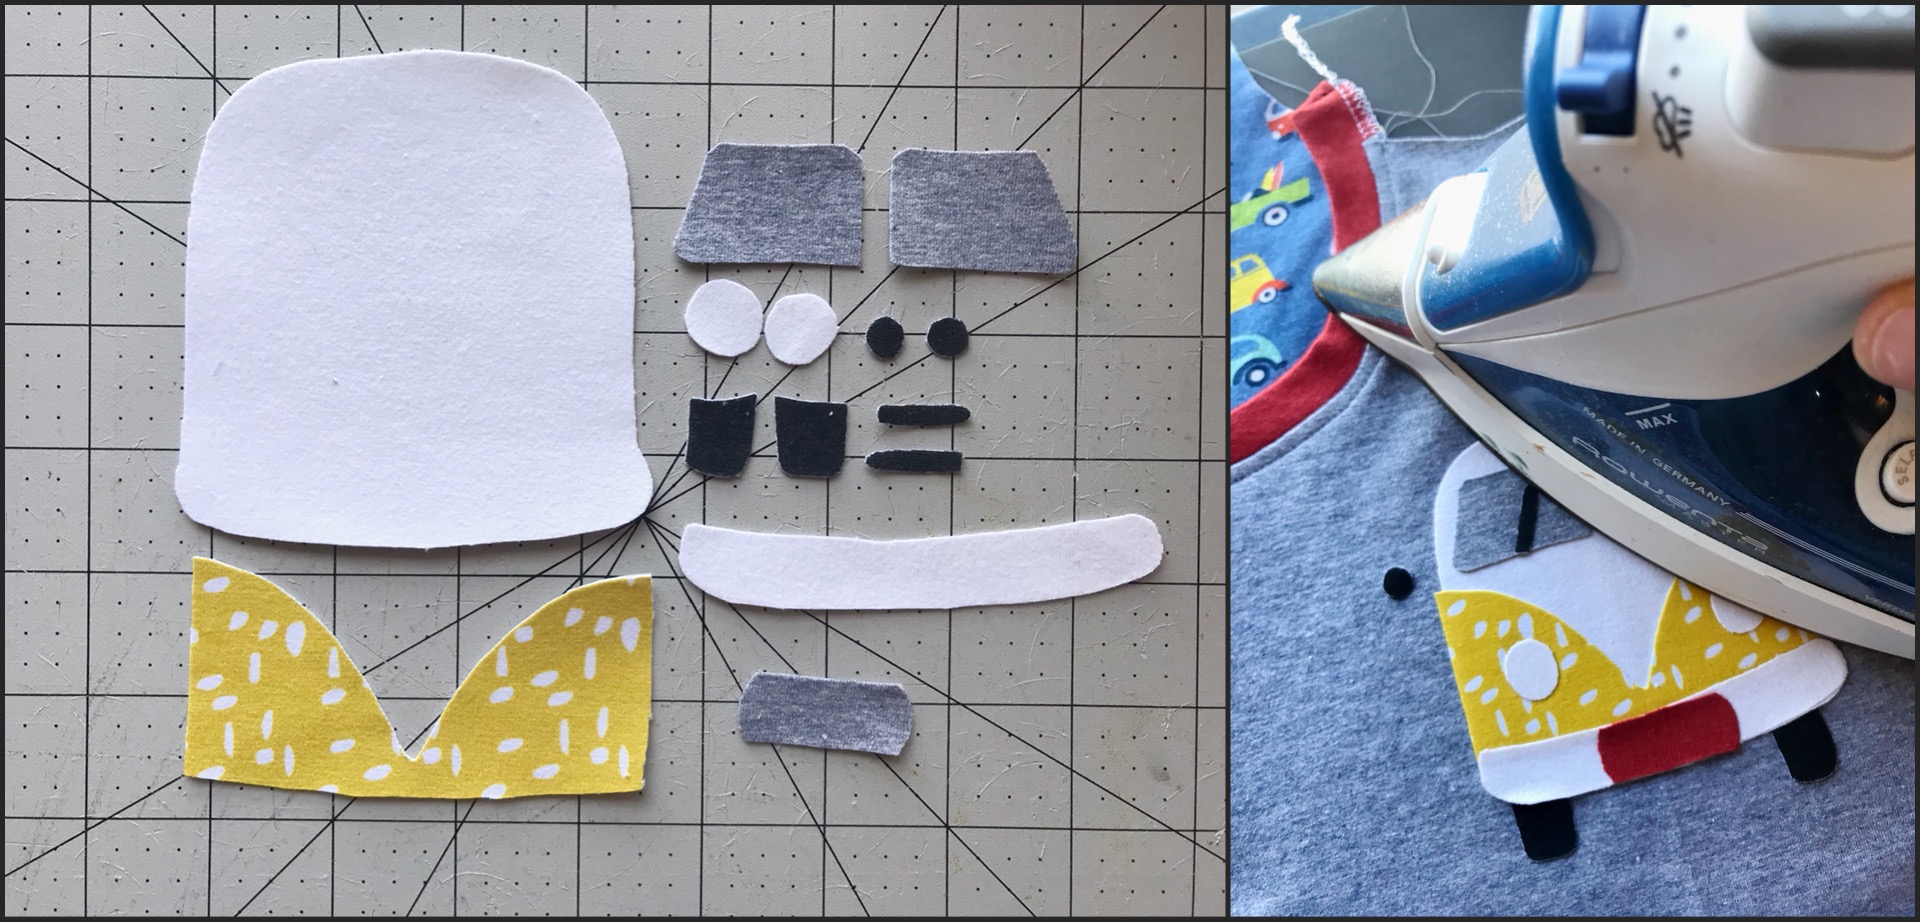
Take your heat n bond pattern pieces and iron them, paper side up, onto the wrong side of your chosen fabrics, following the instructions on your iron on adhesive’s package. Allow them to cool. Then, while using the heat n bond as your guide, cut out your pattern pieces from your fabric.
Step Three
Peel the paper backing off of your applique pieces and place them tacky side down onto your project in numerical order. You can place them directly on the item you are appliqueing or you can place them on a piece of backing fabric. If you are making a garment, sew your applique onto your fabric before you sew your garment together. Once you have all of your pieces located where you like them, press straight down with your iron while following your adhesive’s directions until all pieces have bonded to your fabric. If using a backing fabric, trim the backing piece about a 1/4″ from the edge of your applique pieces after your pieces have been pressed to the backing. Flip your fabric over and iron on a piece of your cutaway stabilizer to the back of your backing fabric, behind your applique pieces.
Tip: Be sure not to wiggle your iron. The movement of your iron can cause the smaller pieces of the applique to shift. If you have a piece shift, just peel it off and add a new piece of heat n bond to the back and press it again. You can also press your smaller pieces one at a time if you are worried about them shifting.
Step Four
Time to start sewing!
First, we are going to choose a thread color. I tend to lean towards black because I like how it makes my applique appear to be outlined and gives it an almost drawn out appearance. You can also choose a thread color that is similar in color to your applique fabrics for a cleaner look.
Tip: Don’t stress about having perfectly straight stitches. When I first started appliqueing, someone told me that applique is an extension of your creative self, expressed through the use of fabric. If your stitches are wonky, embrace it! If you aren’t quite ready to embrace it, use a matching thread or add a couple more passes of wonky stitches around the pieces to give it a purposely sketchy feel.
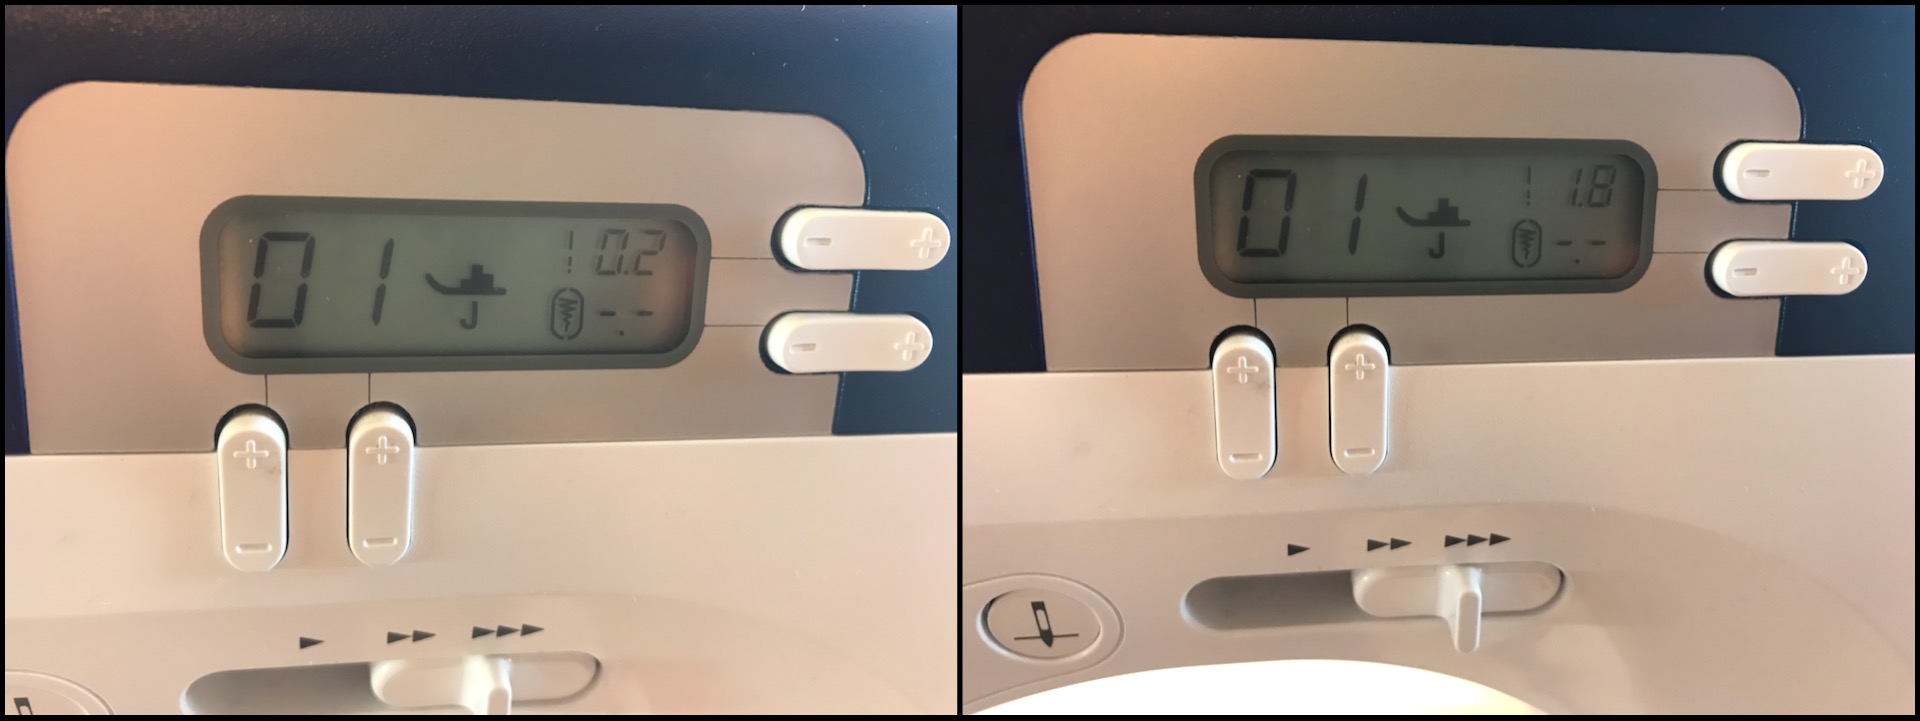
Next, we are going to head to our machine. When doing knit on knit appliques, I tend to use a walking foot or my zipper foot. I will use my zipper foot if I’m doing a smaller or a more detailed applique, where I need more visibility while sewing. Your normal sewing machine foot will work as well; just make sure you aren’t pulling or stretching the knit fabrics as you sew. Set your machine to a straight stitch and decrease your stitch length down to the lowest stitch length possible. On my machine, that is a 0.2. Next, sew 2-3 stitches at this stitch length. Then increase your stitch length back up to 1.8 – 2 for the smaller details or 2 – 3 for the long straight lines, and take another 2-3 stitches forward and then 2-3 stitches in reverse. Continue stitching around the piece until you reach the beginning of your stitches and repeat the 2-3 forward, 2-3 reverse, and your setting stitches at the 0.2. Finish sewing each of your applique pieces down, following the above steps.
Tip: Go as fast or as slow as you feel comfortable with. When going around the small corners, take one or two stitches and then with your needle still in the down position, lift your presser foot and rotate your fabric just a little bit. Continue to take one or two stitches and rotate as you go around your applique shape.
Step Five
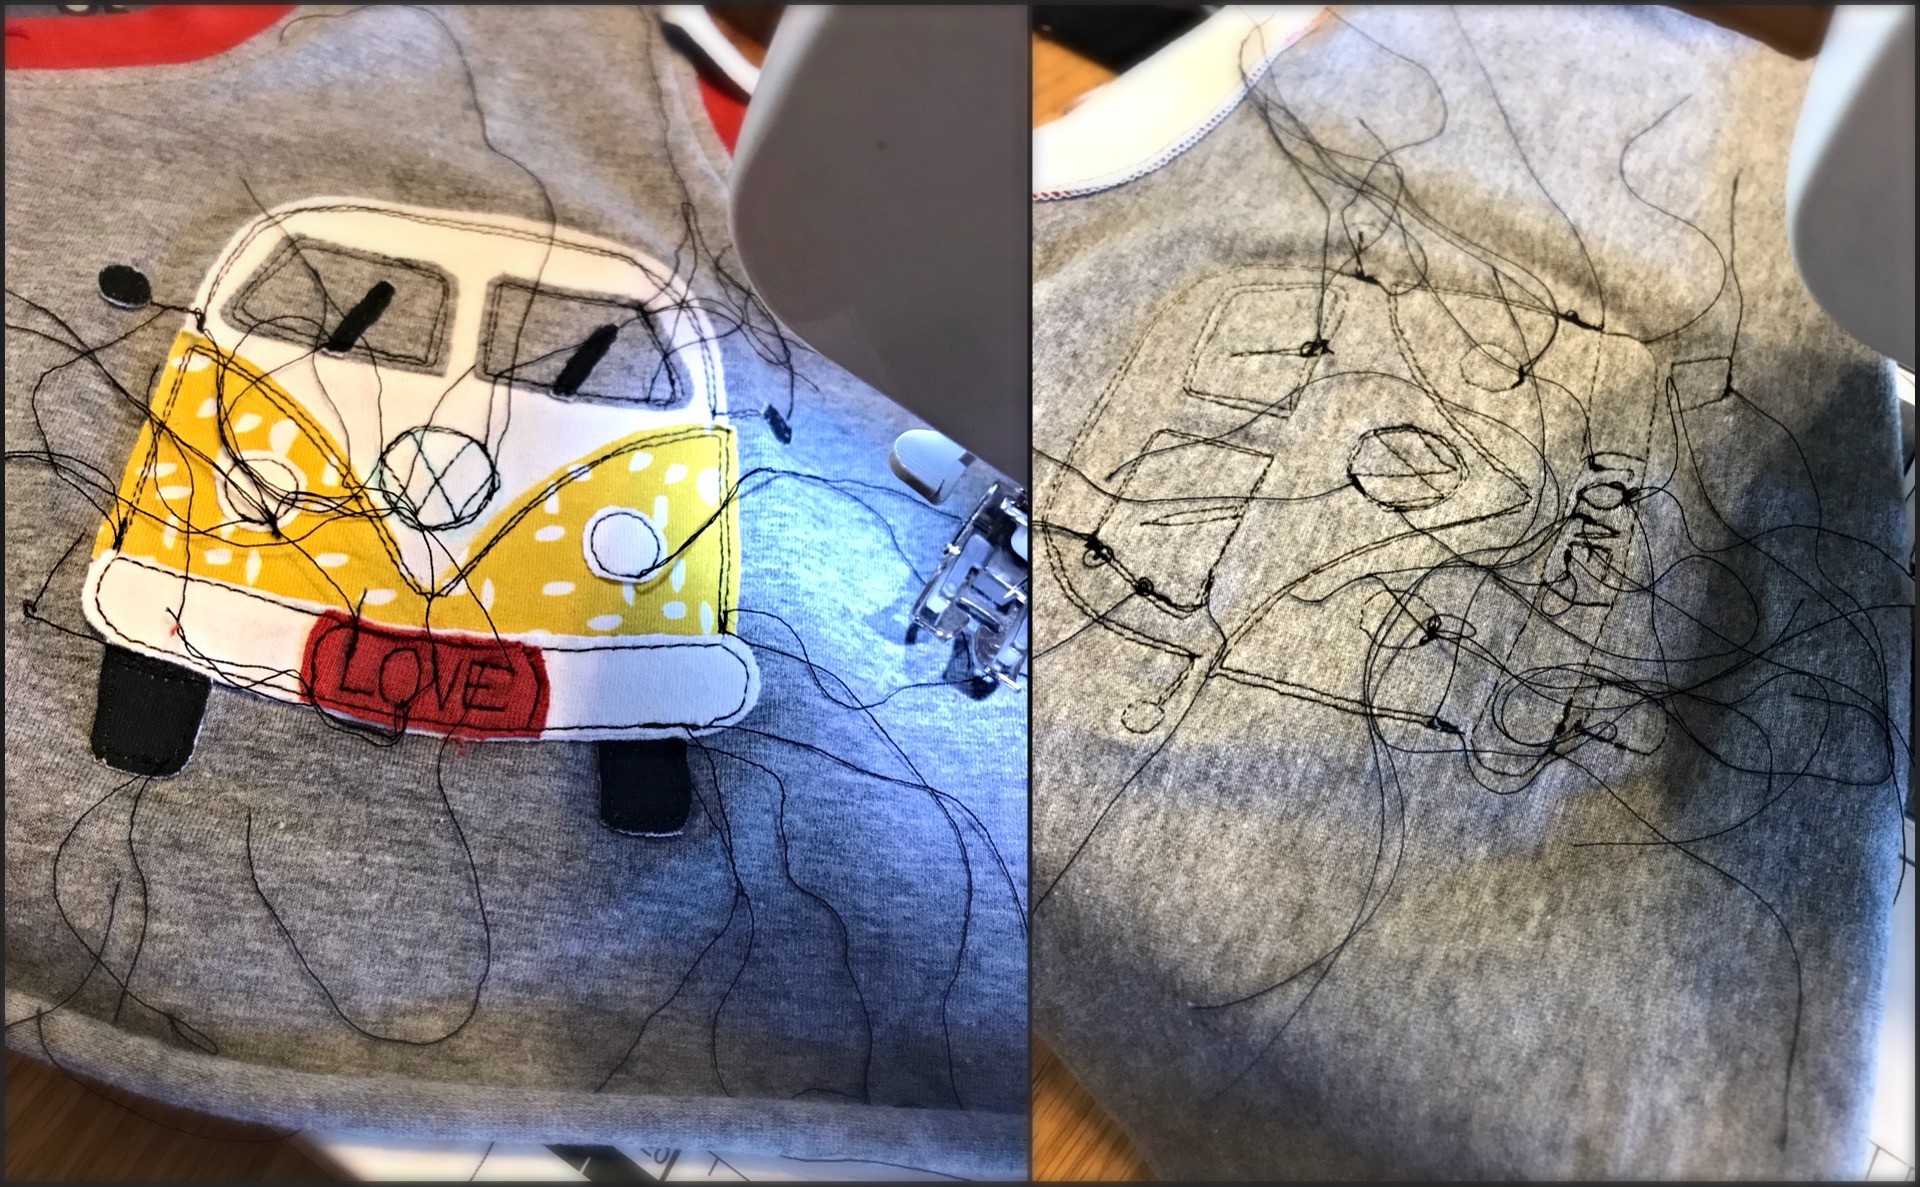
Now, onto the iconic VW logo. Take your fabric marker and draw out your logo on the front of your applique. Begin stitching your applique using the above techniques. You can also substitute a heart or other shape in place of the logo if you choose.
Step Six
You can finish your applique one of two ways. The first way is to simply snip all of your threads. You can also pull your top threads through to the back, using your seam ripper or another pointy tool, and knot them. The second way ensures your threads won’t come undone over time but isn’t required because your stitches are locked into place. I tend to pull through and knot on all of my small applique pieces, just because there are fewer stitches holding them in place than the larger pieces. If you used a cutaway stabilizer, cut the excess away from the stitching using a small pair of scissors. Be sure to cut close but not close enough to catch your stitches.
If you added a backing piece to your applique, cut a piece of heat n bond the same shape as your backing and press it to the back or wrong side of your applique piece, paper side up. Once cooled, peel and iron your applique piece onto your project and then sew around the perimeter of your backing fabric to secure your applique to your project.
Congratulations!!
Your Love Bus Applique is now complete! If you have any questions about the tutorial or want to share some love, please leave a comment below! I’d love to hear from you and see your finished projects! To share your projects, tag us on Instagram or Facebook @craftingagainstthegrain and use the hashtag #craftingagainstthegrain
To Download the Love Bus Applique Pattern…Click Here —> Love Bus
All designs, illustrations, images, text, and all other aspects of this pattern are
© Crafting Against the Grain 2018.
No part of this pattern may be reproduced, transmitted, or shared in any form.
Alexis Neil | All rights reserved. For Private Use Only.

This is so awesome!! I can’t wait to try it out!! Thank you for the free applique and amazing instructions!!
LikeLiked by 1 person
Thanks Michelle!!
LikeLike
This is fantastic! You are the queen of applique 😍I can’t wait to try this out!
LikeLiked by 1 person
Aww Thank you so much Danielle!
LikeLiked by 1 person
Love it, and great job on starting up a blog to share your creativity, too!
LikeLike
Thank you!
LikeLike
Good morning!
Not sure if you are aware the link is broken 😥.
Very cute pattern I’d love to try.
LikeLike
Oh no! I’ll look into it. Here’s the direct link for you! https://www.dropbox.com/s/p44fhzxgd39nz2g/Love%20Bus%20Applique%20Pattern.pdf?dl=0
LikeLike
Thanks! Can’t wait to try it
LikeLike