
Disclosure: This post may contain affiliate links, which means I may receive a commission if you click a link and purchase something. Please check out our disclosure policy for more details.
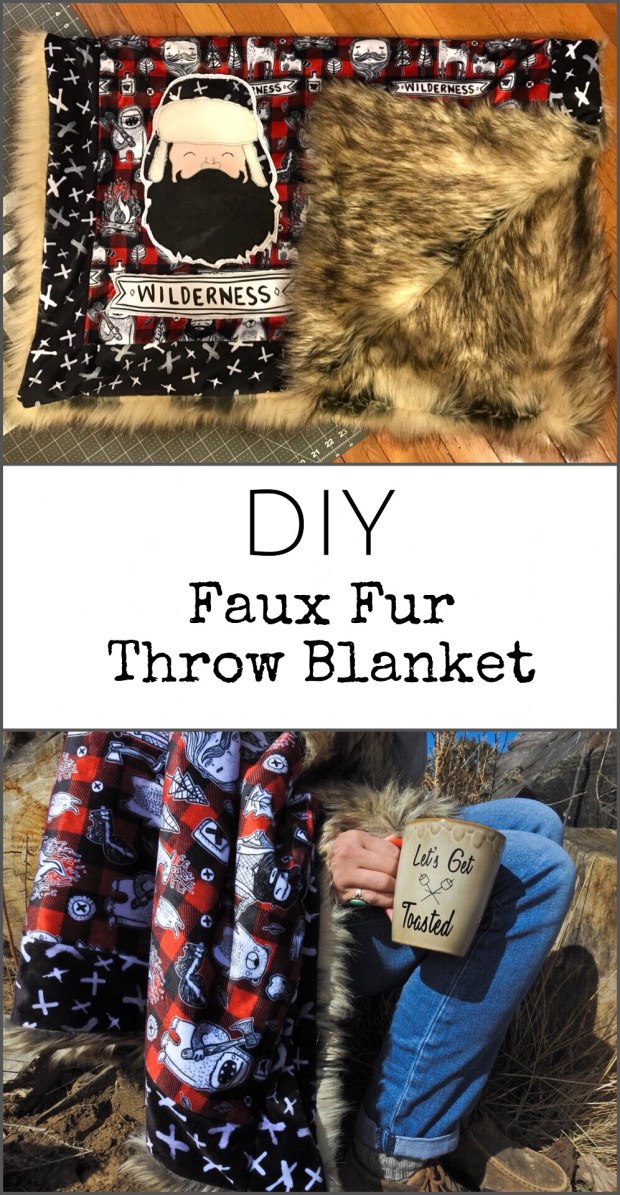 Faux fur throws. They are simply gorgeous and make me wish I was sitting around a campfire while on an epic adventure. I’ve been wanting to make a faux fur backed throw blanket for awhile now, thanks in part to all of the beautiful examples I’ve seen on Pinterest. I just hadn’t quite found the perfect fabric for the top piece. That is until I got the opportunity to sew up this amazing red wilderness and inverted x’s minky from Rockerbye Destash Fabric.
It has a beautiful weight to it and didn’t have that shedding problem that you get from a lot of lower end minkys. Plus, it has a gorgeous red buffalo plaid background, which calls to my adventurous side. I decided that this amazing fabric needed a little more lumberjack love, so I added a big lumberjack applique, of my own design, and I used a cut file from LePetite Market on Etsy, for the wilderness banner.

Step one..
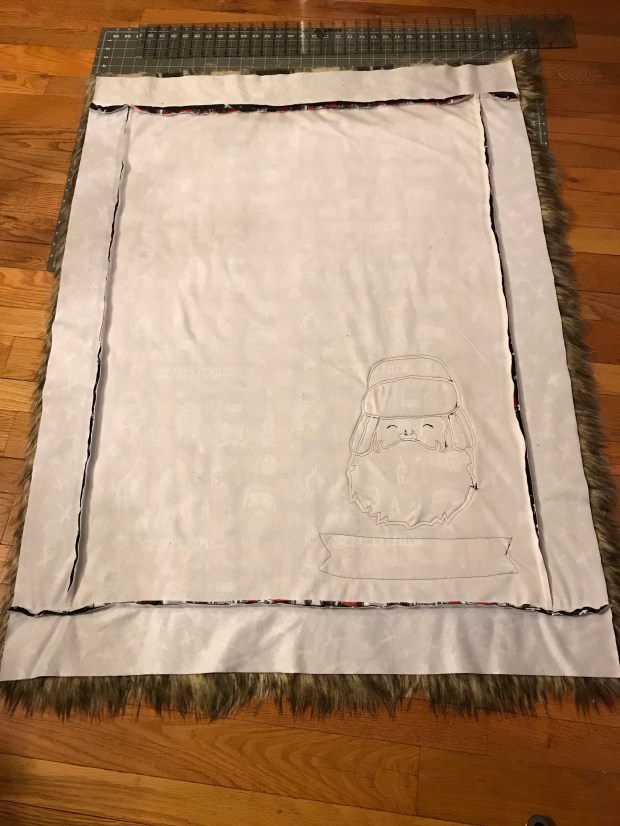
Place your blanket topper on top of the backside of your faux fur. Make sure to smooth out your top piece until it is perfectly flat. You will want to line up the edge of the fur backing with the edge of your blanket topper. In the above photo, it looks like the backing is larger than my topper on the left side and the bottom, but that is actually the fur itself. You will leave that the way it is. Make sure the nap of the fur is going in your preferred direction. For my blanket, it lays from the top to the bottom.

Step 2…
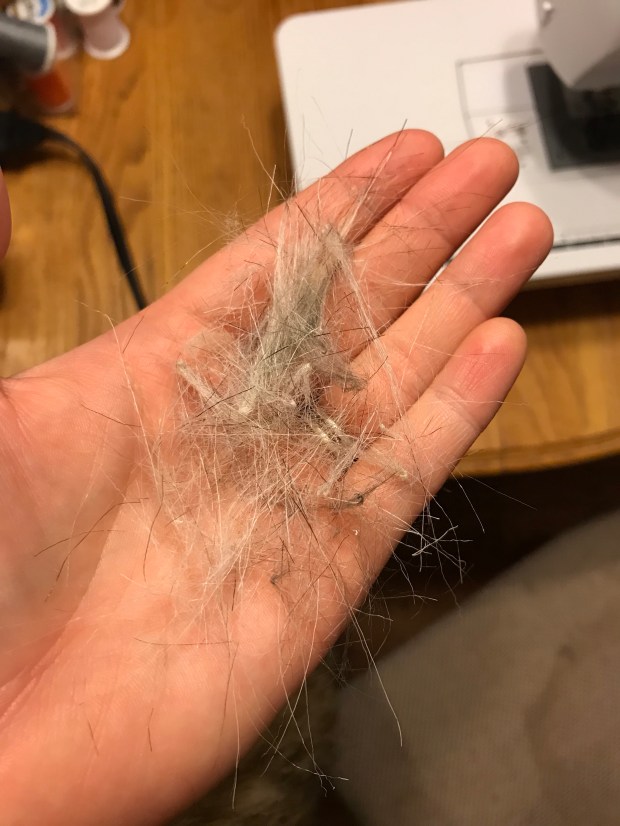
Grab a razor blade or a razor knife. You’re not going to want to use scissors to cut the faux fur. (When you use scissors you end up cutting the fur itself and that’s where you get a huge mess.) Lay your ruler alongside the edge of your blanket topper and run your razor blade down the edge. You will want to put a cutting mat or a piece of cardboard under your fur to protect your floor or cutting surface.

Go slow and lightly press until you cut just through the backing layer of your fur. This will ensure the fibers of your fur, stay attached to the backing. If done right, you will have minimal shedding. This was all the shedding I had from cutting out my blanket backing.
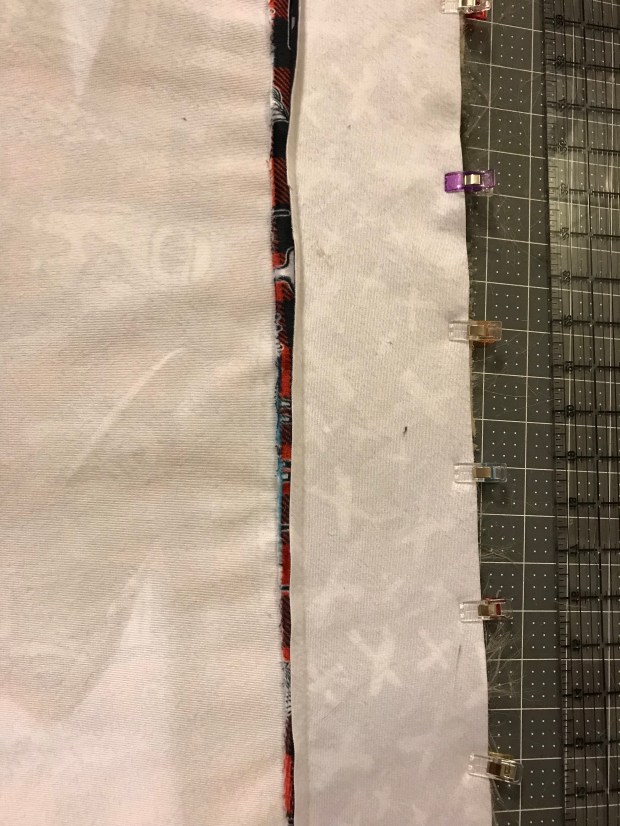
Once your faux fur is cut, lay your topper and faux fur right sides together, and pin or clip generously. Very generously! This will keep your blanket from sliding around while you are sewing. You will still have the fur poking out the sides.
Sew around the outside of your blanket using a basic straight stitch with the seam allowance of your choice. Be sure to leave a 4-5 inch hole for turning your blanket.
Turn your blanket right side out. I like to reach in and pull from the opposite corner. Once your blanket is turned, be sure to poke the corners out using a blunt tool like a chopstick. Next, sew your opening closed with a blanket or ladder stitch.

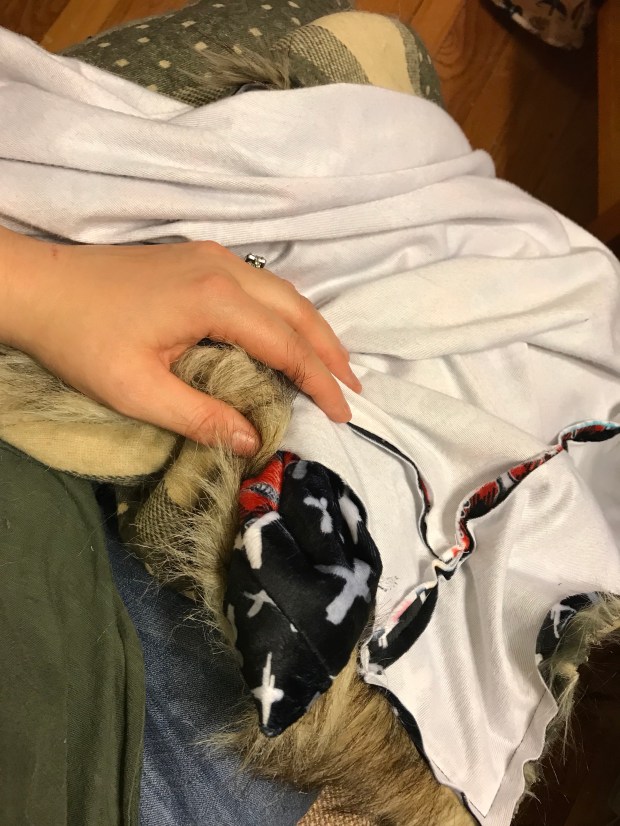
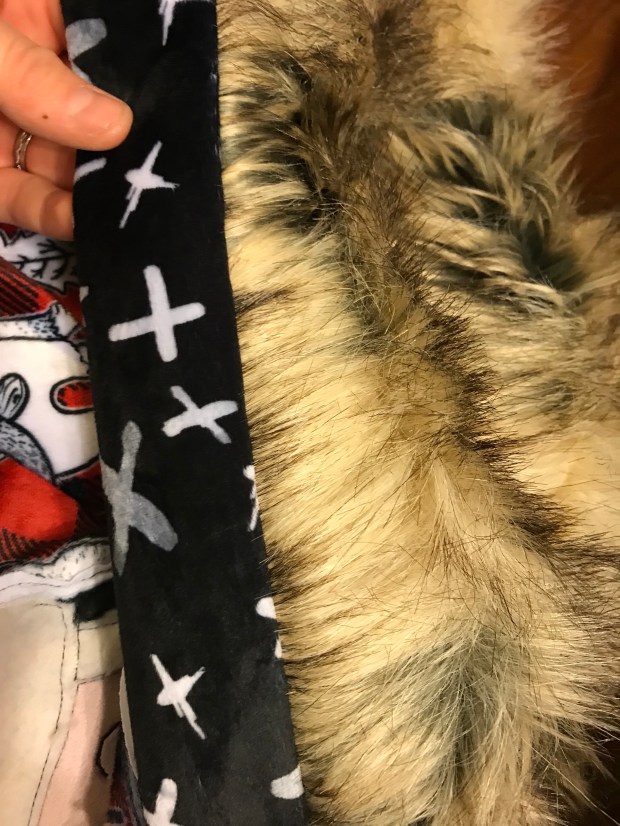
If your fur has a longer nap to it like mine, you will have an area along the seam that will need to be pulled out. I just did this with my fingers by pulling gently on the fur. See the photos below for the before and after.

Congratulations! You now have one of those amazing faux fur blankets to call your own!
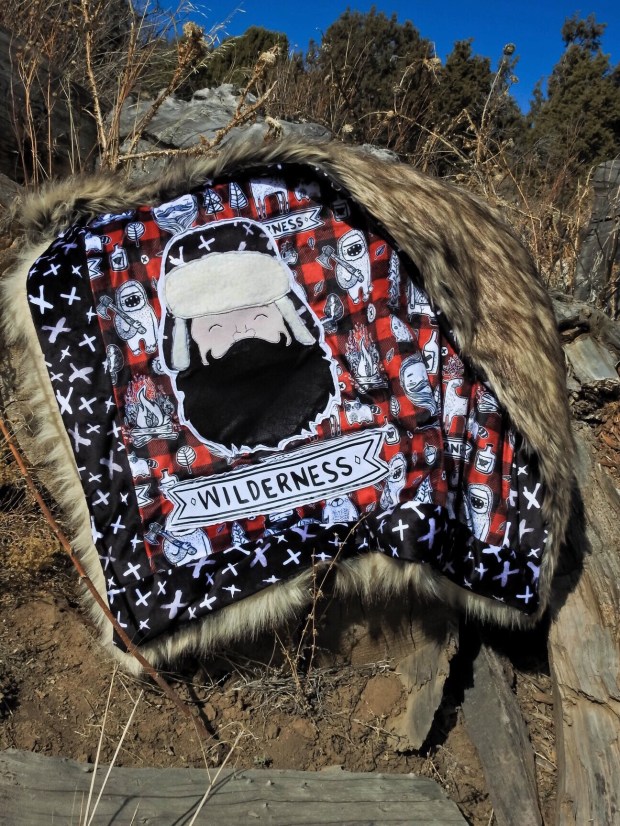
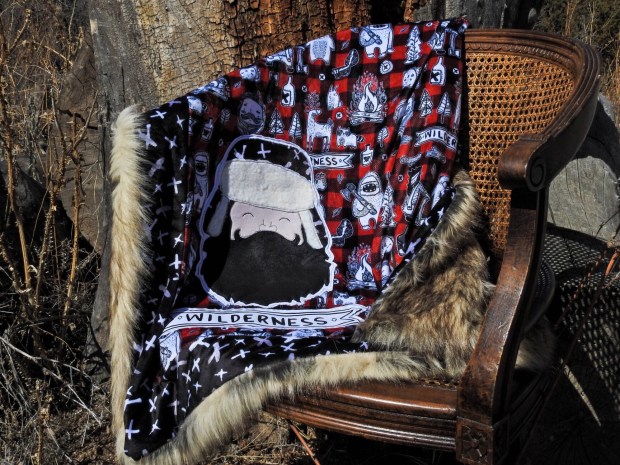
You can purchase this amazing red lumberjack wilderness minky Here.
Disclosure: This post may contain affiliate links, which means I may receive a commission if you click a link and purchase something. Please check out our disclosure policy for more details.
