
One of my sewing resolutions last year was to “master” the zipper in a knit garment. I hadn’t had a whole lot of experience with them while using knit fabric, and it definitely showed. So, I decided to do a little research and a lot of testing to figure out how to get that zipper to look perfect every time. Now, there is definitely more than one way to put in the perfect zipper but today, I’m going to share the tips and tricks that I have found to be successful in my own sewing adventures.
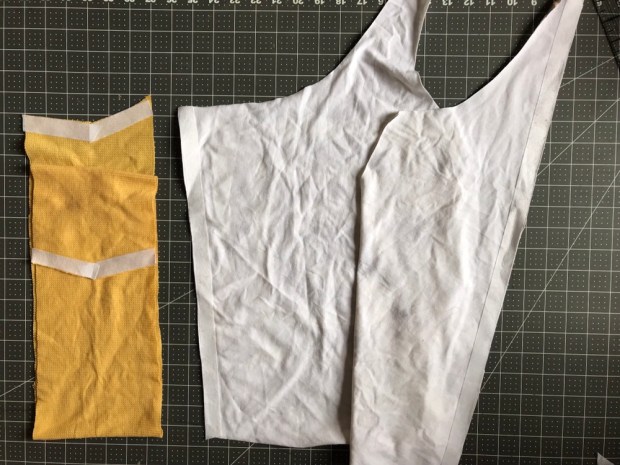
Tip #1
Before you start sewing, cut two thin strips of iron on lightweight or featherweight interfacing, the length of your zipper and about 3/4” wide. Next, iron them onto the wrong side of your fabric along the line of your zipper.
Tip #2
Use a lot of pins/clips. I tend to use both clips and pins. The clips help keep my zipper from moving horizontally, while the pins help with vertical movement. Also, always place your pin heads so they are facing you when sewing. That way they will be easier to remove as you go along. 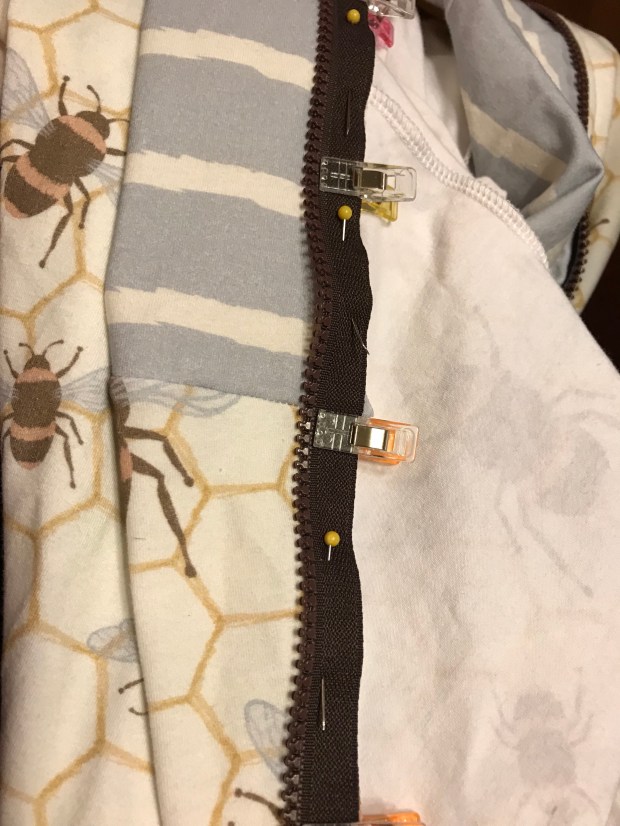
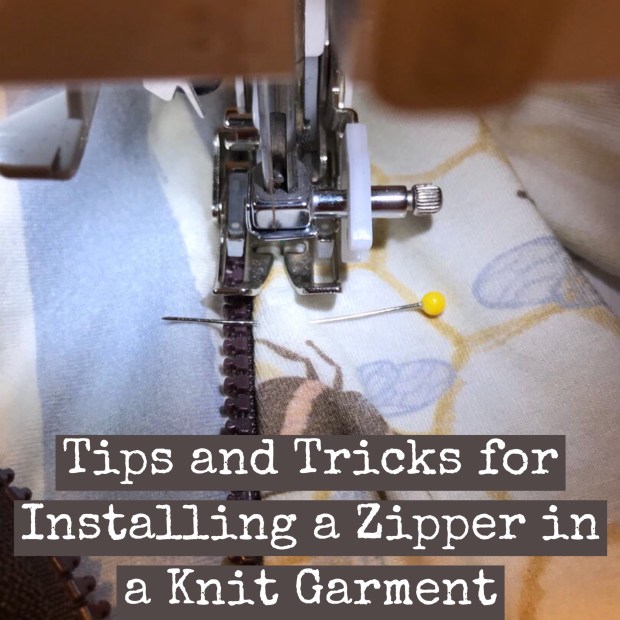
Tip #3
When sewing a zipper into a knit garment, always start sewing from the bottom to the top. That way if your fabric stretches or zipper “walks” it is easier to account for and fix the extra length. Also, try not to pull your fabric through when you are sewing your zipper. Let it feed itself through the machine. This will help to reduce waviness. I also tend to use one hand to push the zipper towards the needle from the left or right, and the other to keep my fabric lined up.

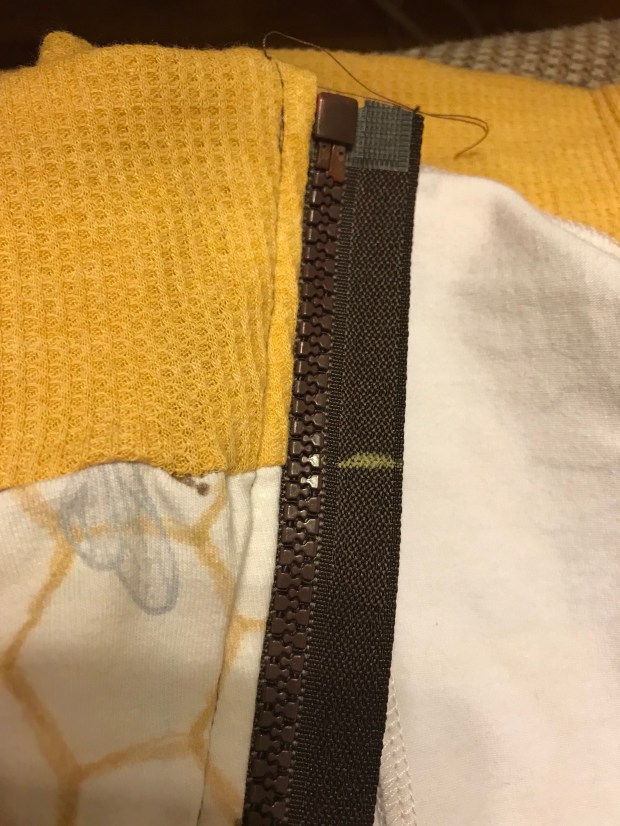
Tip #4
When adding a zipper to a garment with a band, sew one side of your zipper on first. Next, zip your zipper closed and mark with a piece of chalk the position of your band. Be sure to mark it on both the front and the back of your zipper. Then unzip your zipper and place it on the unsewn side, while making sure to line up the chalk line with the band. The pin and sew as usual.
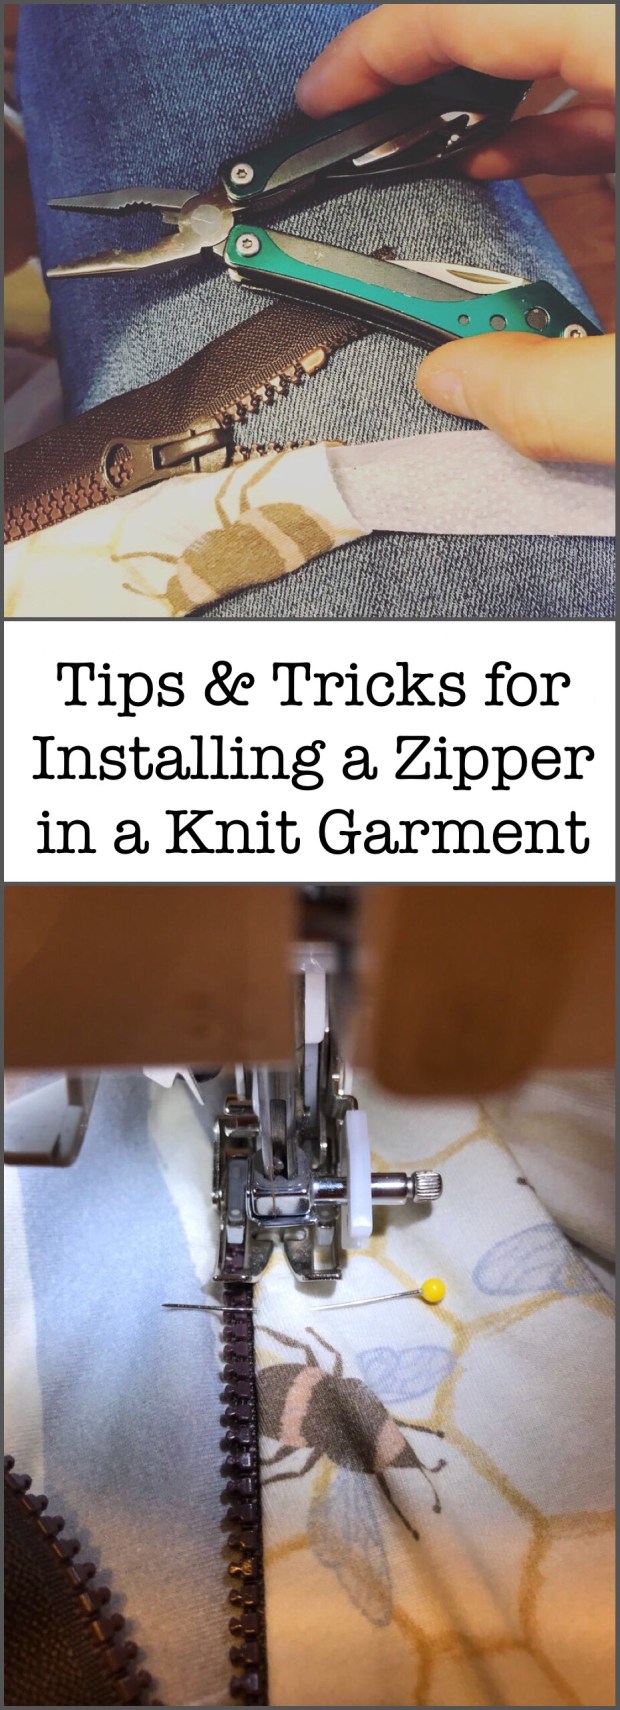
Tip #5
If you cant find a zipper in the correct length, buy a longer one than you need and shorten it yourself. I use a small pair of pliers to remove the stoppers and teeth. First, Remove the stoppers and set them somewhere safe. Next, remove enough teeth to clear your seam allowance. Once the teeth are removed, reinstall your stoppers at the end of your zipper teeth and trim the zipper down to size.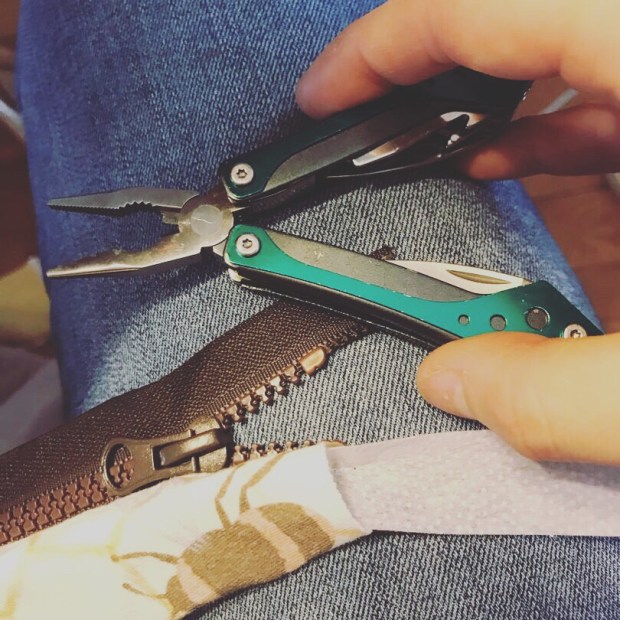
Tip #6
The last zipper tip I have for you is to use your walking foot when topstitching your zipper down. It will help with the puckering that can sometimes happen when topstitching.
I hope these zipper tips have helped alleviate some of the fear and/or help you tackle your next zipper project! There are definitely more ways to put a zipper in a knit garment, but this is the way I’ve found to work best for me. Do you have any other great tips you’d like to include? Please Comment below!

Biggest key thing is totally interfacing! That way it will behave more like a woven in that area. I have a coverstitch machine now so that makes top stitching so much easier!
LikeLike
Yes! Exactly! Oh man! I bet the coverstitch is perfect for topstitching!
LikeLike